Moonlight Silver
Glittery and translucent, bringing you a tasteful home

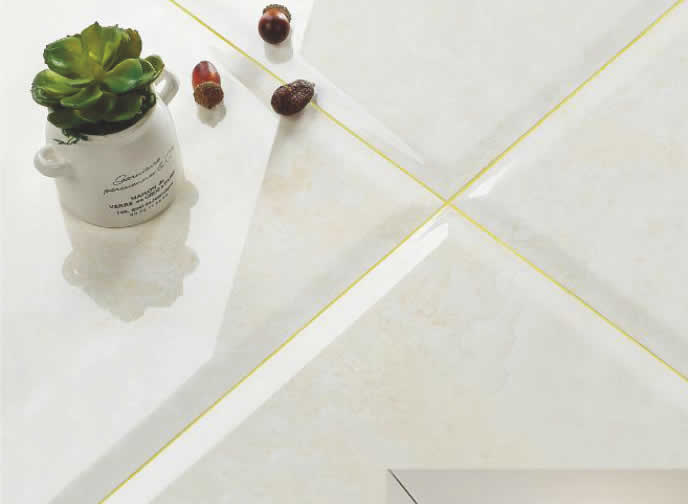
Pearl White
Simple and pure white
Ivory Gold
Fantastic and bright, filled with regal splendour and elegance
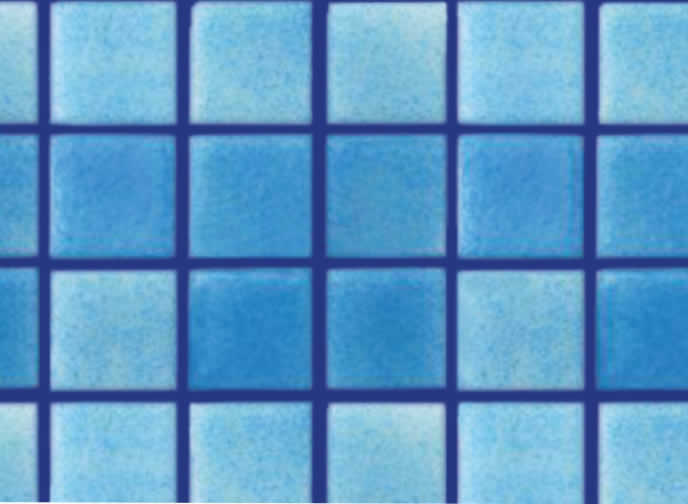
Sapphire Blue
For a surface as natural as the depths of the ocean

The range of application

Mosaic

Floor

Wall
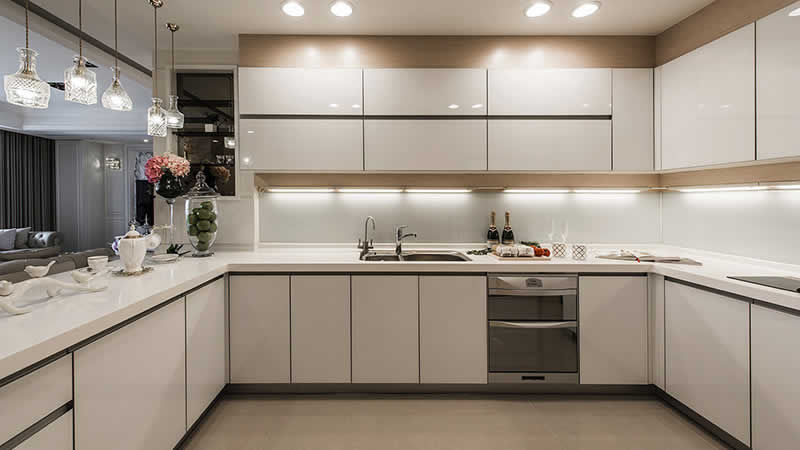
Kichen sink

Wash basin, tubs, toliet
Ceilling baseboard

Wood & Ceramic

Door, Window
Coverage Data ( Suggested depth: 3mm – 5mm )
Please select the tile size:
Please select the width of the gaps:
What is the size of the area (m2) you need to cover?
How many 400 ml EzyEpoxy tubes you will need:
Total area covered: <% calculateSquerMeter(group.selectedTileSize, group.selectedGapsWidth, group.itemCount) %> m2

*Calculations based on a 6mm thick tile.
*Calculations are a guide only and numbers may vary depending on the application area.
*Bathrooms or areas including steps with extra joints, windows, niches, drains etc will require an average of 25% more Epoxy per square meter.


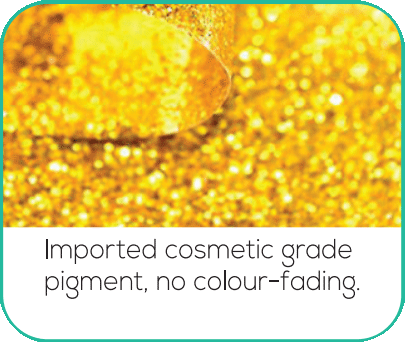
Product ingredients
Kastar Tile Sealer is made upoftwomain components, epoxy resin and hardener, which are mixed with a high quality pigment sealant.
Kastar Tile Sealer is produced with the most advanced technology, to seal gap joints between tiles and to add beauty to your home.
Specifications and packing
Double tube : 400ml/Pair and 20pcs/Carton
Size: (37x24x24)cm
Weight: 540 Grams (Gross)
Technical data of kastar ceramic tile sealer
| Colour | Curing Time ( 25℃ ) | Shear Strength | Temperature | Shelf Time |
|---|---|---|---|---|
| Part A: 12 colours | 4 hours for dry surface, 16 hours to dry completely. | ≥12 MPa | - 60oto+ 100o | 24 months |

Application Instructions
- Twistoff the cover of the bottle.
- Accordingto the grout gap, cut the mouth of the nozzle.
- Fix the nozzle to the bottle.
- Load the bottle into the caulking gun.
- Remove all foreign and excessive adhesive from the grout gap, preferably using a vacuum cleaner.
- Squeeze about 30 cm in volume of the sealant from the nozzle tip and discard.
- Squeeze the grout into the tile gap.
- Repeat the same if required.
- Use the ball shape to press into the grout gap.
- Keep for approximately 16 hours.
- Remove the excess grout with the blade scraper.
- Use the masking tapes or wax along the tile edges for rough tiles before grouting.
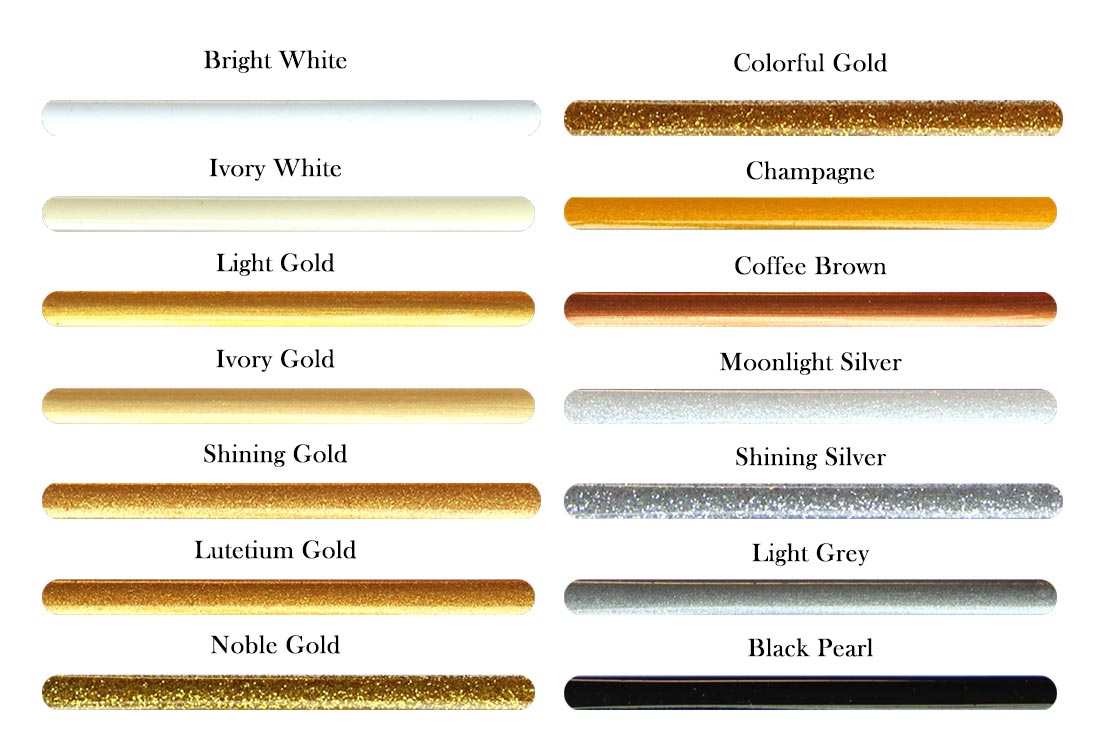
Color Chart
High quality imported pigments
Beautiful and vibrant colors
Eye-catching aesthetics